Heavy Duty Pine Bunk Beds and Bed Frames in Stock, Made in the UK

Is your child’s wooden bunk bed looking a bit tired? Is it time to adapt their bedroom in a way that reflect their evolving style and personality? Or perhaps, you’re simply looking for a way to freshen up the room with a new colour scheme. Whatever your reason, we’ll show you how to paint wood bunk beds as an easy and affordable DIY project that can make a big impact.
At Strictly Beds and Bunks, we’ve been designing, manufacturing and supplying high-quality wooden bunk beds for decades, so we know a thing or two about how to keep them looking their best. In this step-by-step guide, we’ll share our expert tips and tricks to help you paint your bunk bed like a pro. From choosing the right paint and prepping your surfaces, to applying flawless coats, we’ll walk you through the entire process.
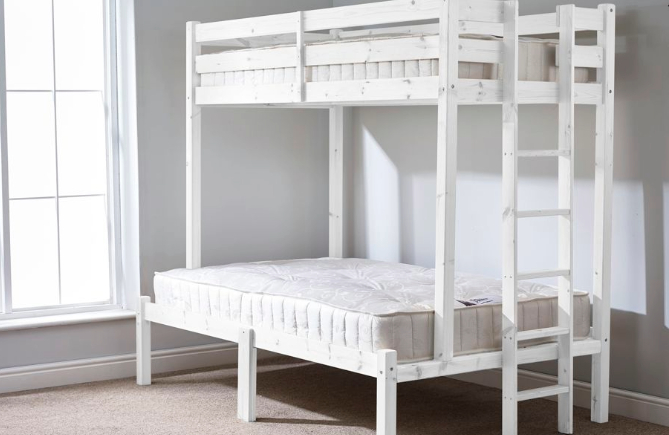
We deliver our bunk beds in their natural state, unless a colour option has been selected. This allows you to easily personalise it with the perfect paint colour, stain, or finish to match your child’s style and your room’s decor.
The smooth, pre-sanded pine of our bunk beds is paint ready. This means you can skip the often-tedious sanding step and dive straight into the fun part!
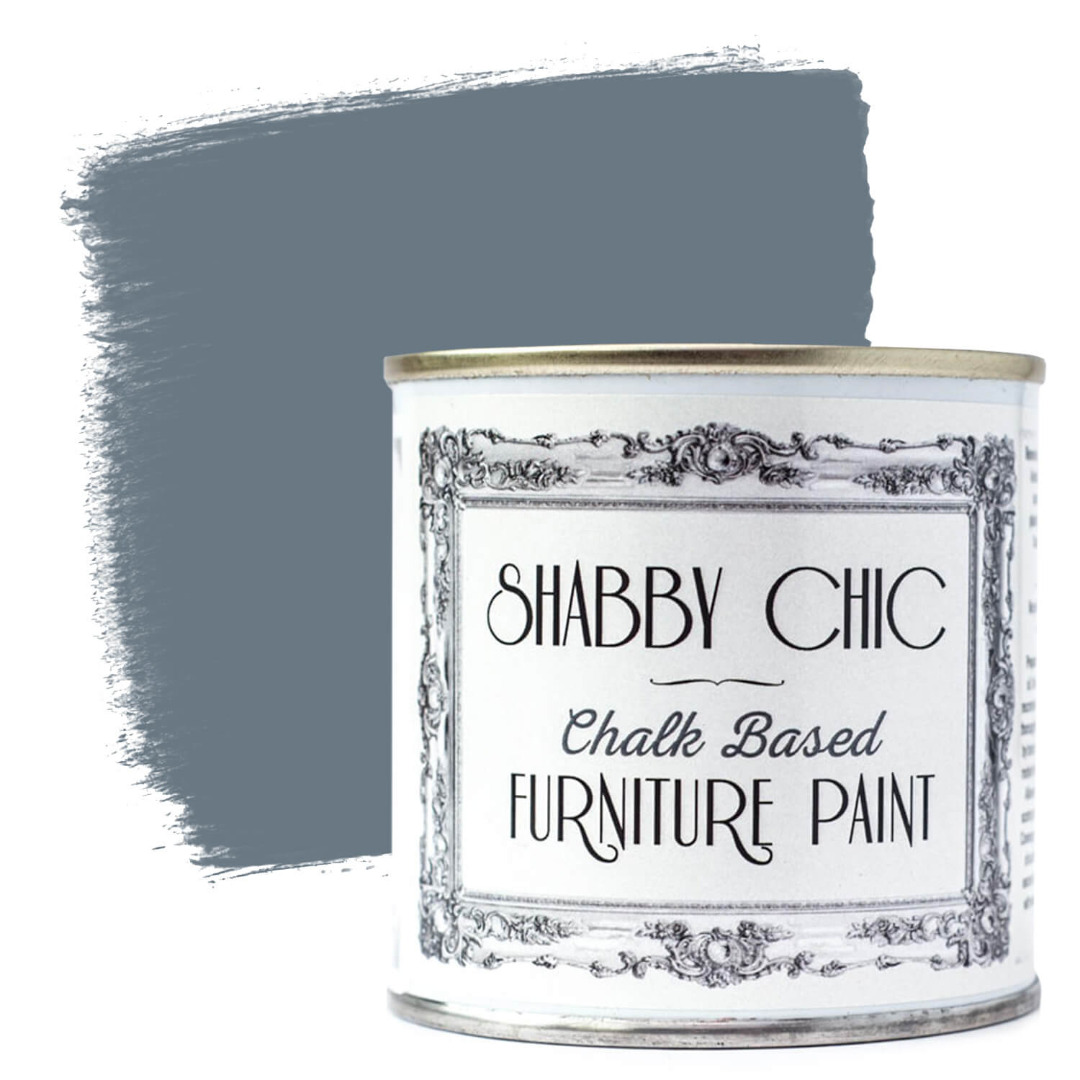
Before you start painting, let’s make sure you have everything you need:
Select a well-ventilated area to paint your bunk bed. If possible, move it to a garage, workshop, or outdoors. If you must paint indoors, open windows and doors to ensure good airflow.
While our bunk beds are designed for easy painting even when assembled, you may find it easier to remove any drawers, ladders, or other removable components before you begin. This will give you better access to all surfaces and ensure a more thorough paint job.
Tip from Strictly Beds and Bunks – If you’re painting a bunk bed with storage drawers, we highly recommend removing them for easier access and a smoother finish.
A little prep work goes a long way in ensuring a smooth and lasting paint job. Here’s how to get your bunk bed ready:
Now for the fun part – adding the colour! Here are our top tips for painting your wood bunk bed:
Pro Tip from Strictly Beds and Bunks: If you’re unsure about a colour choice, test it out on a hidden area of the bunk bed first. This will give you a better idea of how the colour will look in your room’s lighting.
Your freshly painted bunk bed has already transformed the room, but why stop there? Let’s add those final touches that will make it truly unique and special:
We hope this guide has inspired you to transform your wood bunk beds into a space that your child will love for years to come.
Your painted bunk bed is just a few brushstrokes away! Explore Strictly Beds and Bunks’ wide selection of high-quality wooden bunk beds – the perfect canvas for your child’s imagination.
Need a little inspiration? Visit our gallery to see how other parents have transformed their bunk beds with creative paint colours, and personalised touches.
Sign up for exclusive deals
Receive exclusive voucher codes or product launch details
We won’t bombard you with emails and you can unsubscribe at any time
Category
Useful Links